A vanilla sugar cookie's appeal is never in doubt but apart from being an aromatic, buttery treat, it is also the perfect canvas for an iced cookie. These simple heart shaped iced cookies give bakers an easy intro into the heady, sweet world of iced cookies. Make them any colour or indeed any shape with any message that you want!
6:20pm. Mr NQN and I arrive early for our 6.30pm booking at a restaurant in Chippendale. We look over the menu handed to us and my eyes rest on lardo, that pork fat treat that we had recently eaten in Italy.
"Ooh look, remember lardo?" I exclaim excitedly.
"No," says my sphinx-like husband.
My eyes rest on the three milks cake on the dessert menu and ask, "Well how about the three milks cake that we made with Constanza?"
"Whaat?" he says with a look of puzzlement.
It finally dawns on me. My dear husband has no recollection of the meals that we have had. It is simply me and my obsessive catalogue of food memories. Perhaps much of the time he has no idea what I am rabbiting on about! Oh well...
You're always supposed to look for the person that you have a lot in common with. This may work for friends but as for Mr NQN and I, we couldn't be further apart. As far as our families go, he is the most mainstream of his hippy family while I am the most left wing of a conservative family. Somehow that allows us to meet in the middle. But as far as food is concerned I've written ad nauseam about how he doesn't like cakes or cookies. I think I still go on about it because I seriously still do not understand it. I've said to him once, quite seriously, "Help me understand!!". I may have clutched his collar and stared into his eyes desperately as I said it too.
So while you may make these love heart cookies for your loved one, I made these for my friends, not my best friend and husband Mr NQN. I've seen these cookies all over the internet in so many places in myriad colour iterations I didn't know who to credit them for. So whoever came up with these simple but gorgeous cookies, hats off to you.
If you're intimidated by the idea of iced biscuits, these heart cookies might be a good starter. These teach you how to make a simple vanilla sugar cookie with a great dough that rolls again and again. You also learn a simple outline and flood technique and it gives you the opportunity to practice writing in icing, one of those things that only comes naturally to artists and those that practice a lot. Give them to your loved ones, your friends, hell anyone that you think could do with a sweet boost to their day or Valentines Day. You can stick these to a Valentines Day card with royal icing too for a cute home made Valentines Day card. Just make them because they are delicious!
But I did mention a giveaway didn't I? Something that I've never done before is give you Dear Reader the chance to try something that I've made so this is a first from me but well, since I made 24 of these I have some of these to give away to you Dear Reader, from my kitchen to yours! I have 10 packs of cookie duos to give away and by the end of business today at 6pm, I'll select 10 people randomly from the comments that indicate that they'd like to try these cookies and I shall post these little hearts out to you! Sent with love of course :)
So tell me Dear Reader, do you remember the food that you've eaten? How about years later? Do you make iced cookies or do you prefer plain ones? And don't forget to tell me if you'd like to receive a little pack of these cookies!
180g/6ozs all-purpose flour (or a bit more, I needed about 30g more for this batch)
150g-180g icing or confectioners sugar, sifted
1 egg white
Teal and rose pink food colouring
Food flavouring (optional, I used strawberry for pink and violet for the blue)
Step 1 - Using a beater attachment, beat the butter and sugar until pale. Add the egg and vanilla and beat until combined. Then on the lowest speed, add the flour until it becomes a pliable dough. If it is too sticky, gradually add some more flour (if it too sticky, the dough will spread). Shape into a flat disc and wrap in cling film. Rest in fridge for 1-2 hours.
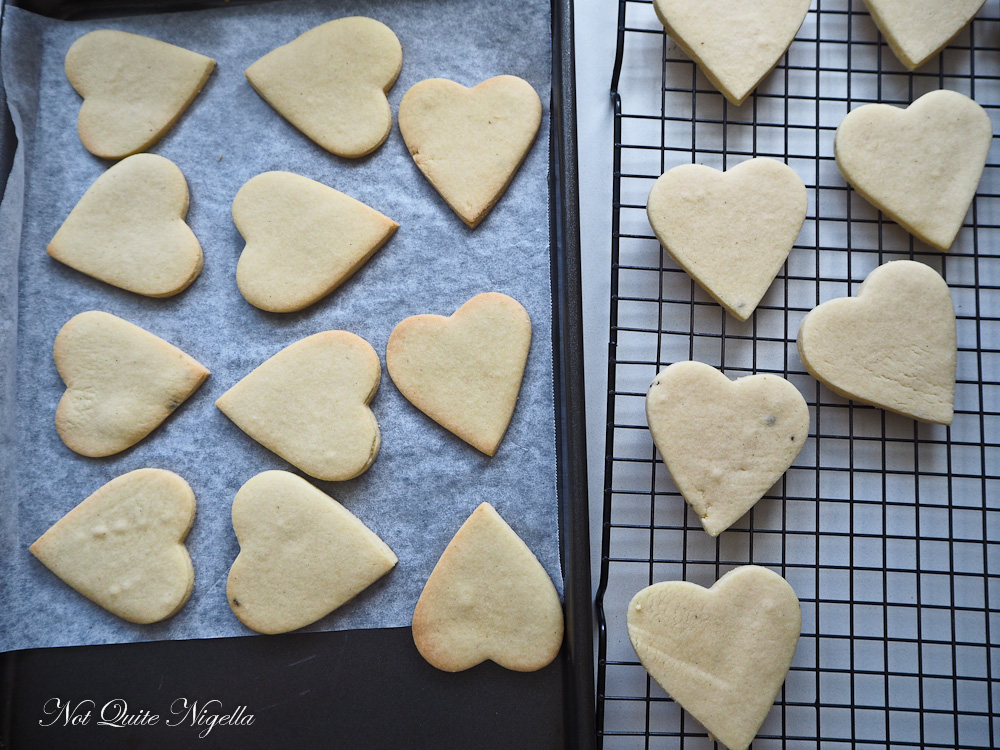
Step 2 - Preheat oven to 160C/320F. Line two baking trays with parchment. Roll out the dough between two sheets of parchment. This dough can roll and re-roll again easily but needs to be rolled between paper. Dip a heart cutter into some flour and cut out hearts. I usually peel away the excess dough and use a brownie lifter to gently place them on the prepared trays about 1/2 an inch apart. Place in the fridge for 20 minutes or so if you have the time (this helps the cookies keep their shape). Bake for 15-18 minutes. You want them pale but cooked. Cool for 10 minutes on the tray and transfer to a cooling rack to cool completely.
Step 3 - Make the royal icing. Mix the icing sugar and the egg white together. I do this in a food processor because I'm lazy and hate sifting icing sugar. But just a lil' warning, it does create lots of tiny little bubbles so it's best if you rest this covered for about 15 minutes before using it to let the bubbles disappear. First I whizz the icing sugar so that the lumps disappear and then add the egg white. You want to be able to draw a line and have it hold so add more icing sugar if necessary.
Step 4 - Divide the icing evenly into two bowls. Using a toothpick, add a tiny bit of teal into one and rose pink into the other. Mix until the colour is evenly distributed. Cover with cling film as this dries quickly.
You want a small trail of icing to come out of the piping bag as this makes it easier to control piping
Step 5 - Make two icing piping bags using parchment and place a couple of teaspoons of the icing into each. Draw an outline around the heart and do half the cookies pink and half teal. It's easiest to do this starting from the bottom of the heart for a better rounded heart shape. Allow to set completely (it doesn't take long) and place the two piping bags in a airtight box as you will need them later.
Flooding the set outline with a slightly runnier icing filling
Step 6 - Add some food flavouring and a few drops of water to the bowls of icing - not too much water or the icing will become too translucent. You want the consistency to be runnier as you will then "flood" the cookies. Take a small teaspoon (I use a demitasse spoon) to spread out the icing-you can also use a palette knife too and then shake the cookie back and forth to even out the icing. Prick any bubbles with a toothpick and shake the cookie to smooth the icing. Allow to set completely (this takes longer and I left this overnight in the now cold oven).
Step 7 - Once the filling has set, take the piping bags and draw "love" on each. It is best to practice these first on parchment. Allow to set completely and then store in an airtight box.


Reader Comments
Loading comments...Add Comment