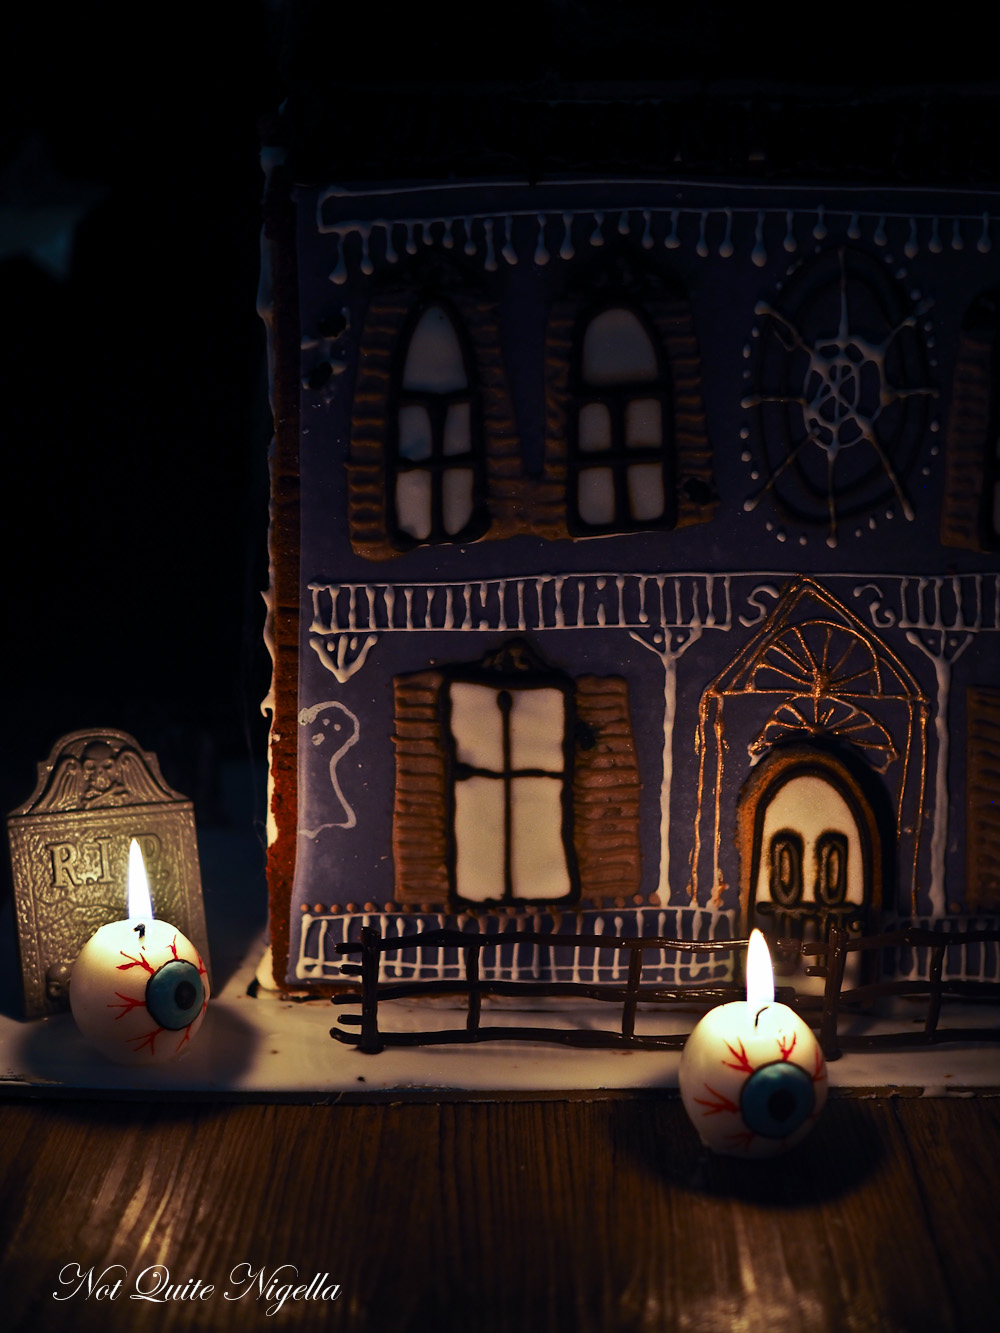
Every year when October rolls around I pounce on Halloween like a cat on catnip. Each year I like to make a centrepiece. This year I did my most challenging project ever: a Halloween sugar cookie doll house complete with four rooms with miniature furniture!
I apologise to anyone that I spoke to last week. I was terse and tense and probably muttering about cookies, fondant or royal icing. I made deals with the heavens. I exiled myself from social activities (somewhat, a girl's gotta eat) and basically alternated days in baking with trips to the shop to buy more supplies.
During one time I bumped into a neighbour while taking Mochi out for her daily constitution. He cooed at Mochi and said what a pleasure it was to have a dog in the building. We got to chatting about different neighbours and he leaned in and whispered that his wife spotted a woman who had the hide to exercise in the garden with a friend. Rumour has it that she didn't even live here and that she was stealing grass space. It was "hot gossip".
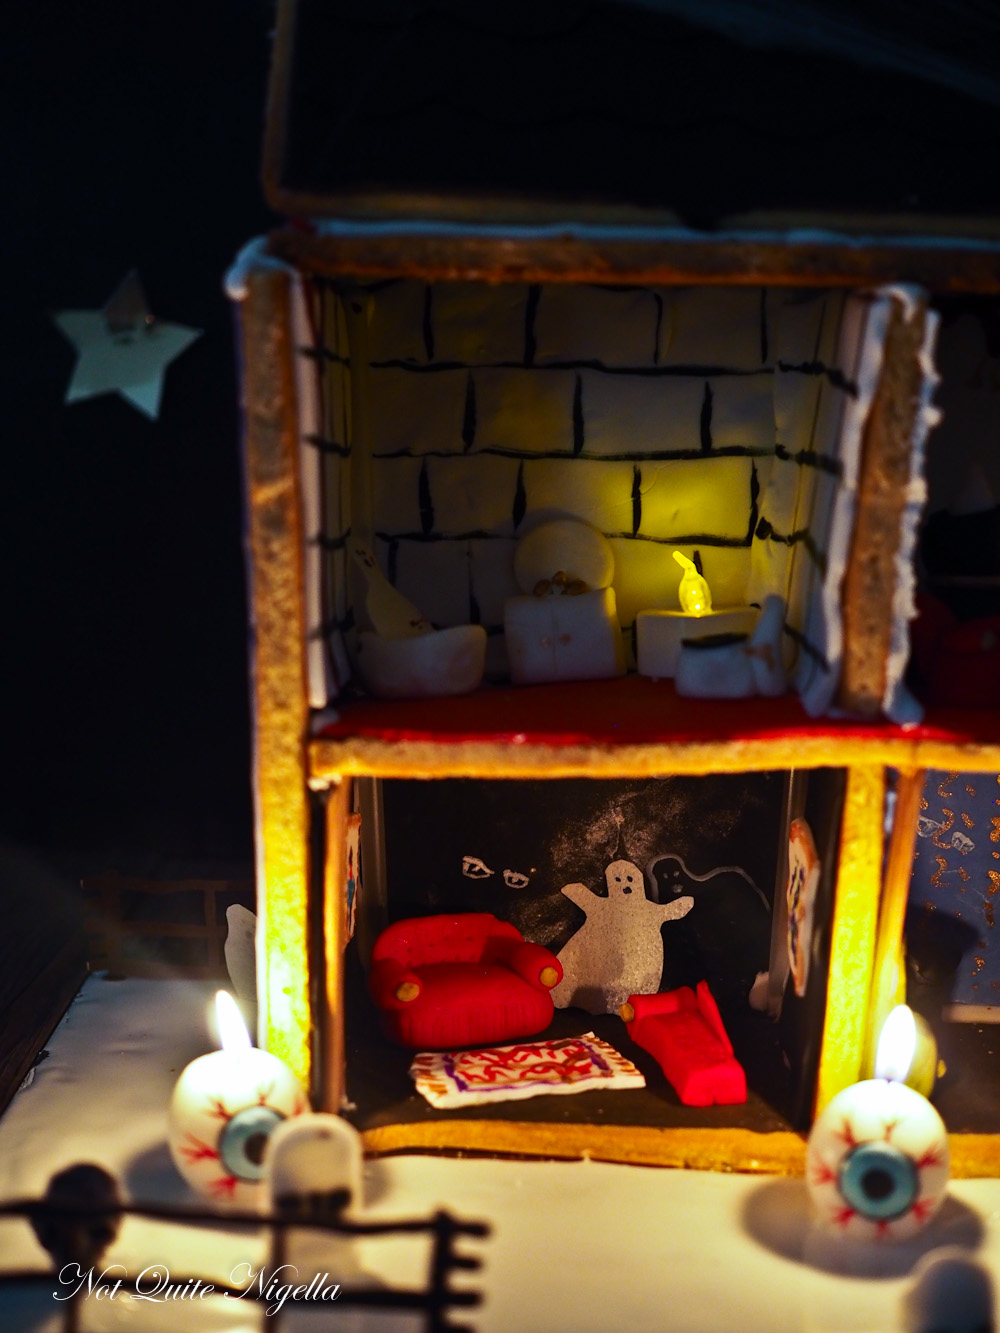
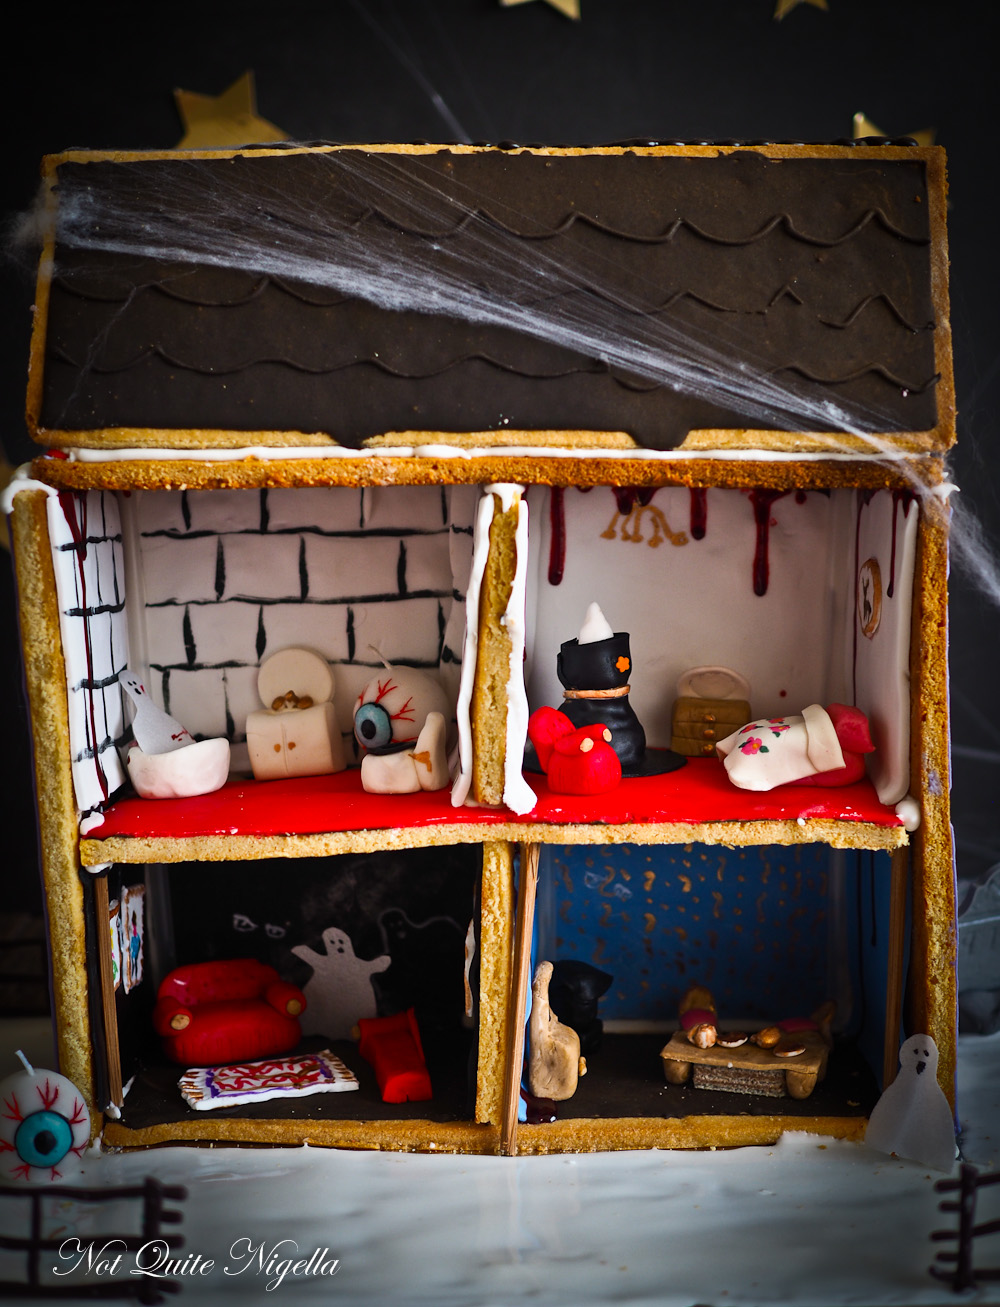
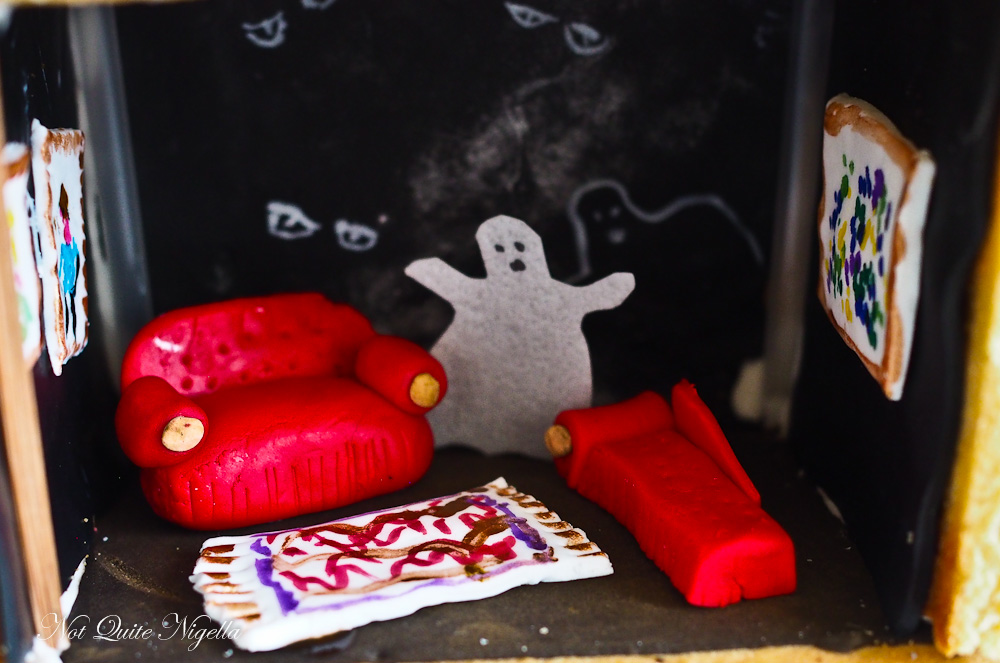
The lounge and bathroom
Of course I was laughing inside because the person stealing grass time and sunshine is me (and yes I've seen his wife, she is possibly one of the grumpiest people ever and refuses to return a smile). "These people that steal grass and sunshine, what to do with them?" and we commiserated about crazy neighbours before I had to tell him that it was actually me.
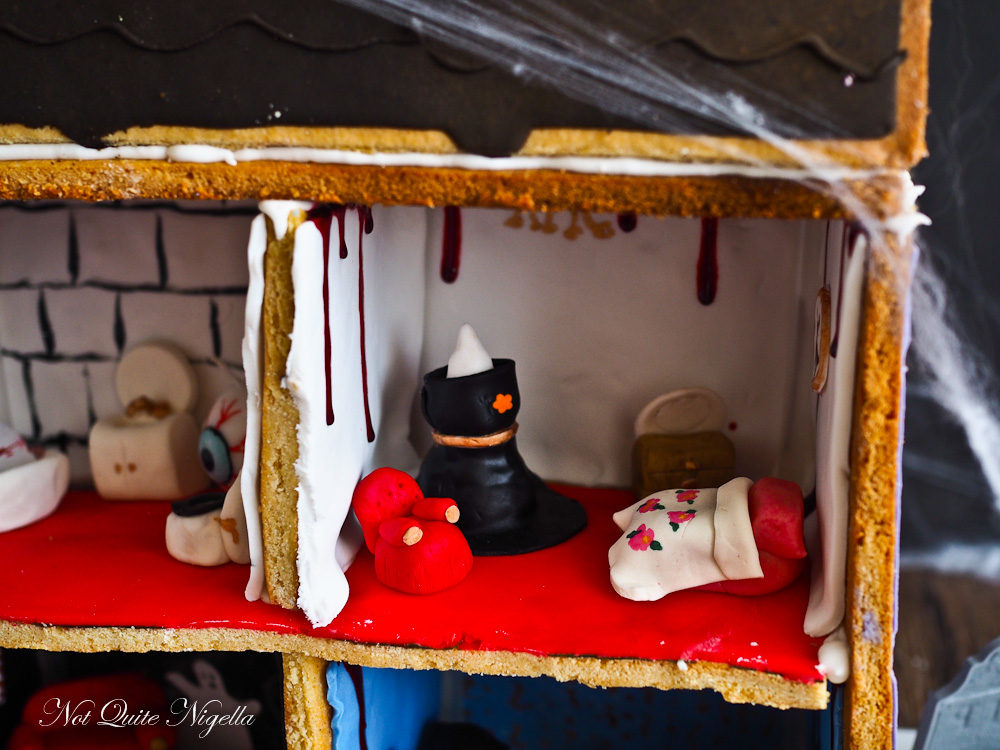
The bedroom and kitchen
"No it's not you, I'm sure!" he said standing back. Because I'm sure his wife had told him that I had horns and was a demon. I told him that yes I had seen his wife and yes that was indeed me stealing all the sunshine and using grass for exercise purposes. He didn't quite believe me but if he had seen the spooky gingerbread house upstairs and the Halloween decorations perhaps he would have that perhaps I was a demon in disguise!
If you love long projects that take a lot of time this dollhouse is for you. It takes a whole week of baking and much of the time was waiting time - waiting for royal icing to set or dry.
Royal icing is the "glue" that brings this whole doll house together (along with several dowel rods for structural integrity in Sydney's humidity). It requires a large volume of ingredients but the fun part is that this is all edible except for the dowels!
Bathroom close-up
I did consider buying all the decorations but once you're in the depths of sugar madness everything seems possible. I shaped a pot bellied stove that didn't quite come out as I wanted it. Tables, chairs, tiny plates and cups with handles were made for the kitchen.
Bedroom close-up
The bedroom furniture, bathroom parts and lounge room furniture proved a bit easier but were by no means perfect. My decorations need work, they are a bit clumsy but I did them all by hand without molds (but believe me if I could have found molds I would have used them).
Kitchen close-up
And after I finished and photographed it I collapsed in a heap and made another deal with the heavens-that it wouldn't collapse and break apart before Halloween!
Lounge room close-up
So tell me My Pretties, do you enjoy long projects? Did you ever have a doll house when you were little? And what do you do with people that refuse to return a smile? Have you ever met someone that was just grumpy all the time?
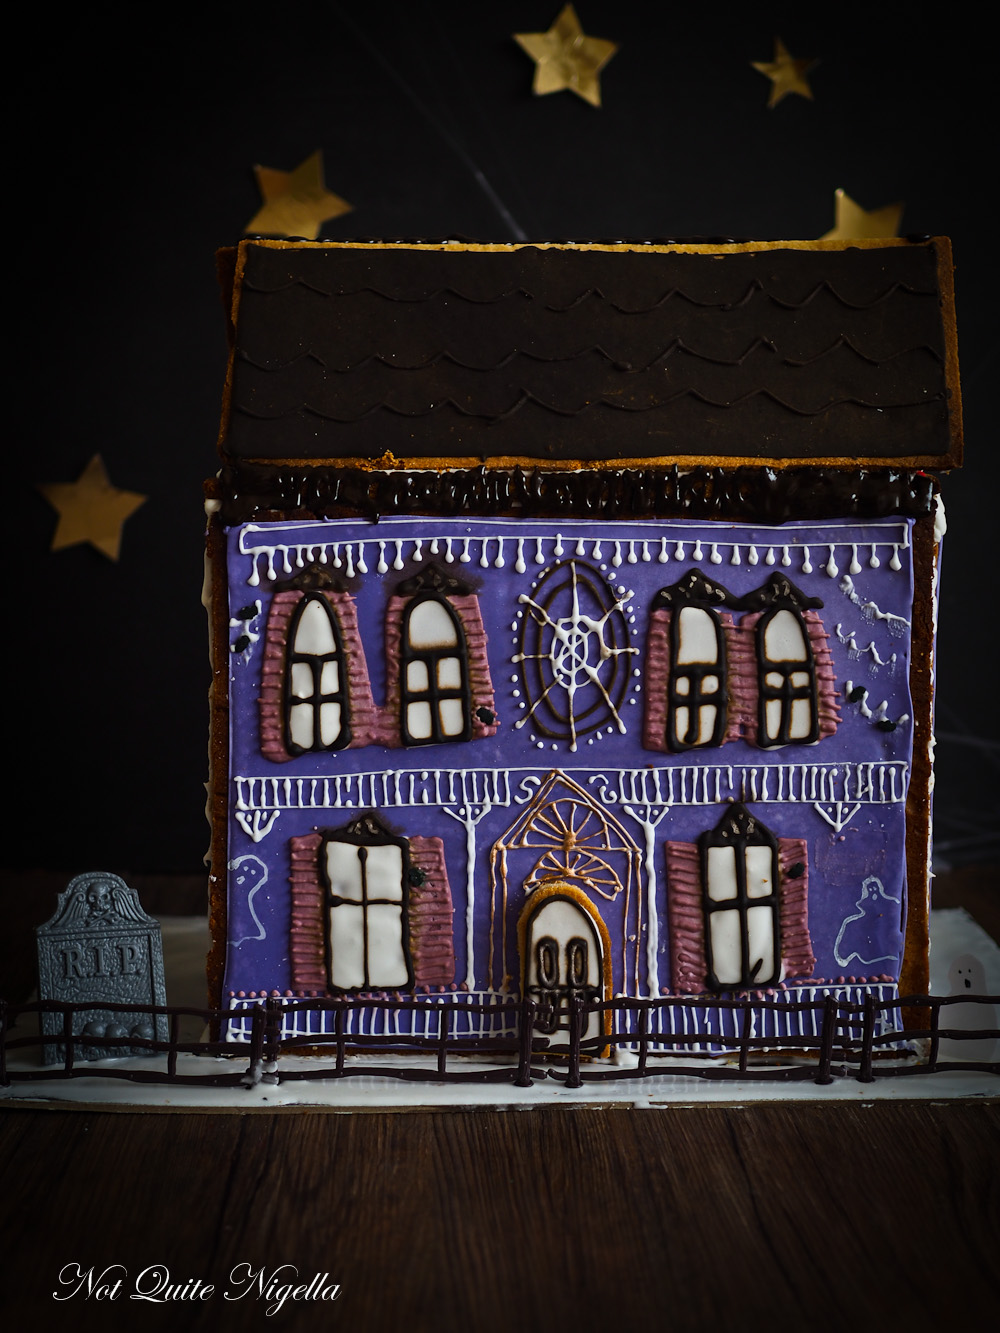
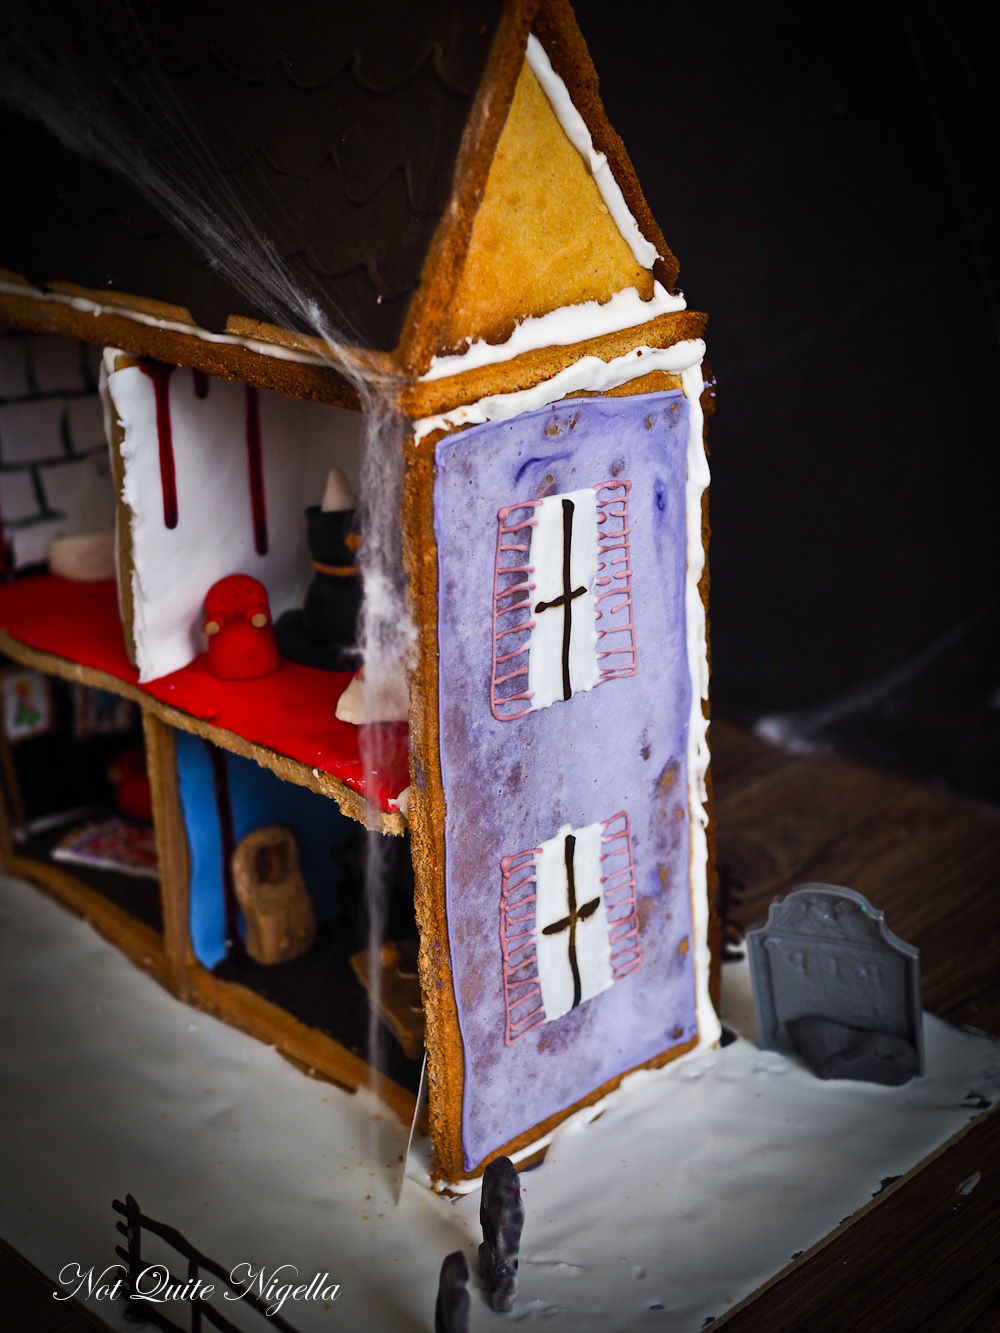
A look at my Haunted Sugar Cookie Doll House!
Halloween Sugar Cookie Dollhouse
Did you make this recipe? Share your creations by tagging @notquitenigella on Instagram with the hashtag #notquitenigella
1800g/60ozs all-purpose flour (or a bit more, I needed about 30g more for this batch)
You will also need lots of parchment, parchment lined baking trays, a ruler and a sharp paring knife
Large, sturdy cake board
To decorate:
1 tube red icing gel
Tiny black sugar bats
200g packs of black, white, red and blue fondant
Copper lustre dust mixed with vodka
Edible pens in pink, green, black, blue and yellow
Edible white paint and fine paintbrush
Mini fences and gravestone
1 sheet rice paper
To construct:
1080g/38ozs icing or confectioners sugar, sifted
6 egg whites
Food colouring in purple, brown, red
6 long dowel rods
Day 1: First make the house. I built a model in cardboard and then measured it so that I got all of the correct measurements. Make sure that you have plenty of baking trays that are large enough to fit the front of the house-this is the largest single piece. Mine measured 30x24cms. Also clear out room in your freezer.
Using a beater attachment, beat the butter and sugar until pale. Add the egg and vanilla and beat until combined. Then on the lowest speed, add the flour until it becomes a pliable dough. If it is too sticky, gradually add some more flour (if it too sticky, the dough will spread).
You will need to make one front piece (30x24cms), two sides (24cms x 12cms), two roof parts (30x12cms), 2 roof support triangles (10x9cms), three floors (28x12cms) and two walls (10x12cms) and one door in total.
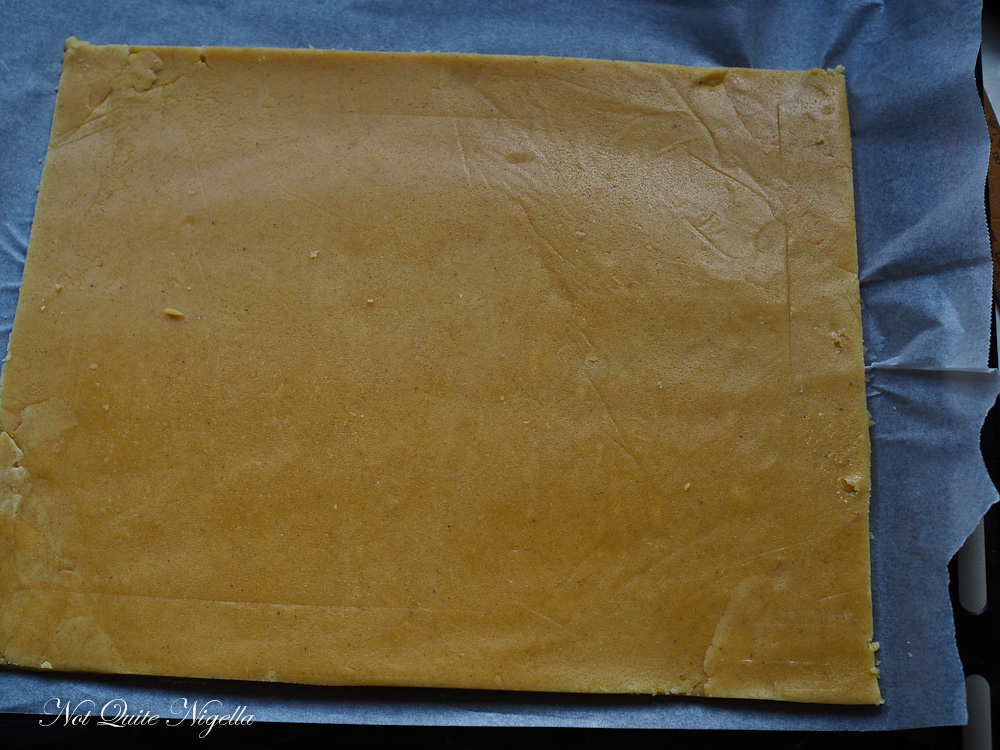
Roll dough out between two sheets of baking paper and cut according to the measurements. Place in the freezer for 20 minutes to harden (this will prevent spreading). You can also do this in the fridge if you don't have freezer space but let it rest in there for an hour.
Bake in a 200C/400F oven for 20 minutes or until dark golden (this will make it harder which you want, not a pale golden). While it is very hot, trim the sides with your ruler and a sharp paring knife to be straight lines. This is best done straight out of the oven. Allow to cool completely.
Day 2: Make the royal icing. I do this in the food processor because I hate sieving. You can do this in two lots (just to keep it fresh). Just put in the icing sugar in and blitz. Add egg whites and process until the lumps are gone. Add more icing sugar to get a stiff piping consistency. You will have two consistencies for your icing: a stiff one that you can pipe outlines and do construction with and this has more icing sugar and your second consistency is a runny icing that can "flood" the outlines and you just add lemon juice to it to make it runnier.
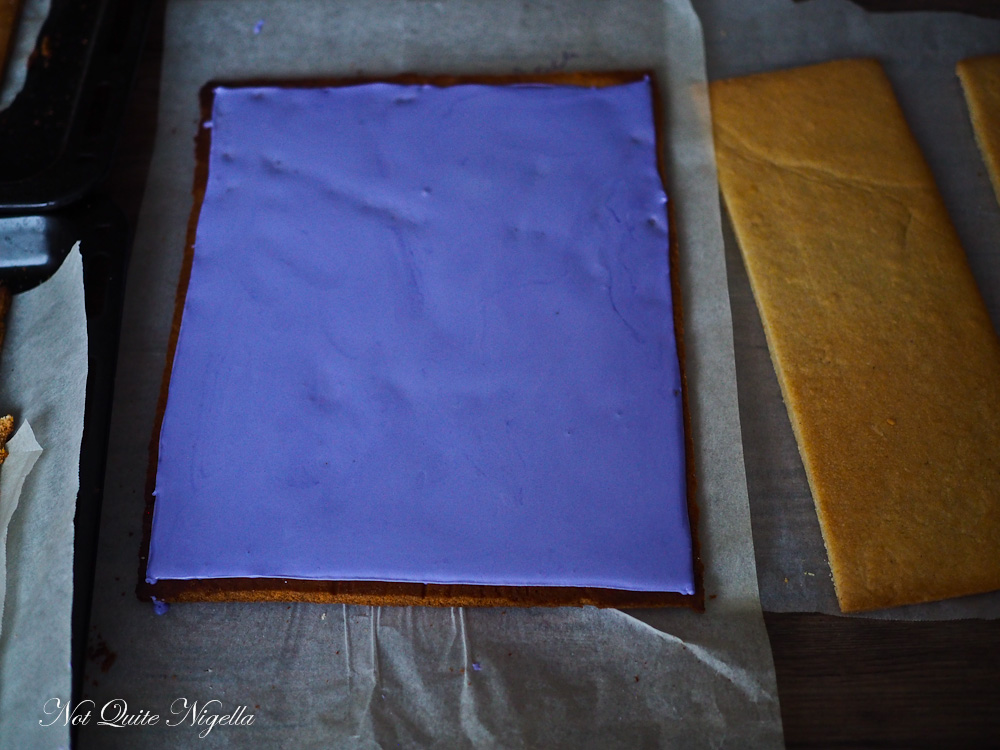
The stiff icing outline means that the icing won't overflow and stays within the borders
You are now going to colour the front of the house, the sides and the two rooves and two "floors". Colour a large portion purple and place 2-3 teaspoons of this stiff icing in a piping bag. Pipe around the outline of the front and sides. Allow to dry. Colour another large portion brown and pipe around the edge of each roof piece and one of the floors and allow to dry. Colour a smaller portion red and pipe an outline on one ground floor and allow to dry. Keep all of these piping bags with the stiffer icing in a airtight container as you will use these later.
Add some lemon juice into the icing bowls and stir to make it a smooth, slightly runny consistency. Spoon into the outlines once they have set and allow to dry, overnight preferably.
Day 3: Colour another portion of icing pink (you may need to make another batch of icing) and place in a small piping bag. Stick the door to the front piece and colour this white. Draw white windows and allow to set for a few hours. Then draw brown window panes and door pattern and allow to set. Then draw an outline with the stiff pink icing to make shutters and allow to set. Flood with runny pink icing and allow to set. You want this to set completely so it may take half a day to do this.
Take the stiff brown icing in the piping bag and draw patterns on the roofs-I made wave patterns.
Later in the day once it is set, draw on the shutters with the stiff pink icing. Then take the stiff white icing and draw grills and patterns in white. You can also draw ghosts on the front or any patterns that you like. I also stuck tiny black bats (although they don't really look like bats from far away). You need the icing to set completely before proceeding.
Day 4: This step is much easier done with two people. Have some cups or glasses ready-the best ones are ones that don't taper and go straight up and down. These will help to prop up the front and sides of the house while the icing is drying. Take some of the stiff icing (it really needs to be quite stiff, check by piping a line on a plate and if it doesn't expand then it is right).
Pipe onto base and place the front piece in place. Pipe around it on both sides. The more icing you use the firmer it will be. Use the cups to keep this piece in place. Then pipe where the sides should sit and place the sides there and pipe around them. Then slide the ground floor into place and reinforce with royal icing. Place one centre wall in place using the same process. Allow to set overnight. Prop the cups or glasses in place to help it dry.
Cut out fondant "wallpaper" and allow to set and stiffen a little as it is hard to lift when it is soft. I made some black, some white for the bathroom and some blue.
Take the rest of the day to make fondant furniture. This takes a long time and once it is finished, you want it to set. Ideally, use gum paste (the shop was out) as gum paste sets quicker. Allow to set and stiffen overnight.
For the kitchen: make table and chairs out of brown fondant-my table started to sag so I place a chocolate wafer under it. Make a pot bellied stove from black fondant. Then in white fondant make small plates and cups (you can colour these metallic the next day).
For the lounge room: in red make a chesterfield lounge and a chaise lounge. Make a white mat (draw a pattern on this the next day) and cut out some rectangles and circles for paintings that you can stick to the wall.
For the bathroom: in white (wash hands and board well), shape a toilet, bath and a sink with mirror.
For the bedroom: shape a bed with bedspread. Shape a mannequin wearing a black witch's dress, an armchair out of red fondant and a set of drawers and a mirror.
Day 5: Wet a little of the back of the fondant wallpaper and place on the ground floor walls. Then complete construction of the second floor. Measure the dowels and cut to the right length. Slide the first floor into place and secure with royal icing and slide dowels under the corners into place.
Wet the fondant wallpaper for the second story and secure it into place. Paint the bathroom with black tiles using black food colouring. Then take the red gel and draw blood drips from the top of the ceiling.
Secure the third ground piece on top of the house and reinforce with more royal icing. Allow this to set completely.
Spend the rest of the day working on the fondant furniture painting it now that it is set. You can paint on the fondant paintings with edible pen as it will be set and colour in the plates and cups.
Day 6: Take the two roof support triangles and reinforce these to the top floor with royal icing. Allow to set completely for 2 hours.
While it is setting, draw on the wallpaper. I drew demon eyes on the black wallpaper and gold patterns on another.
Once the roof supports have set, carefully place the roof tiles and reinforce with more royal icing (use the brown royal icing). Also draw patterns on the exposed cookie part at the front too to cover up the joins. Allow to set completely.
Day 7: Hooray! It's time to add the furniture in! Using a little water, stick the paintings to the walls and gently place the furniture in your rooms.
Take the rest of the white royal icing and spread it around the cake board and allow to set. Cut out ghosts using rice paper and paint faces using black edible ink. And congratulations! You have just survived a week making a sugar cookie haunted doll's house!


Reader Comments
Loading comments...Add Comment