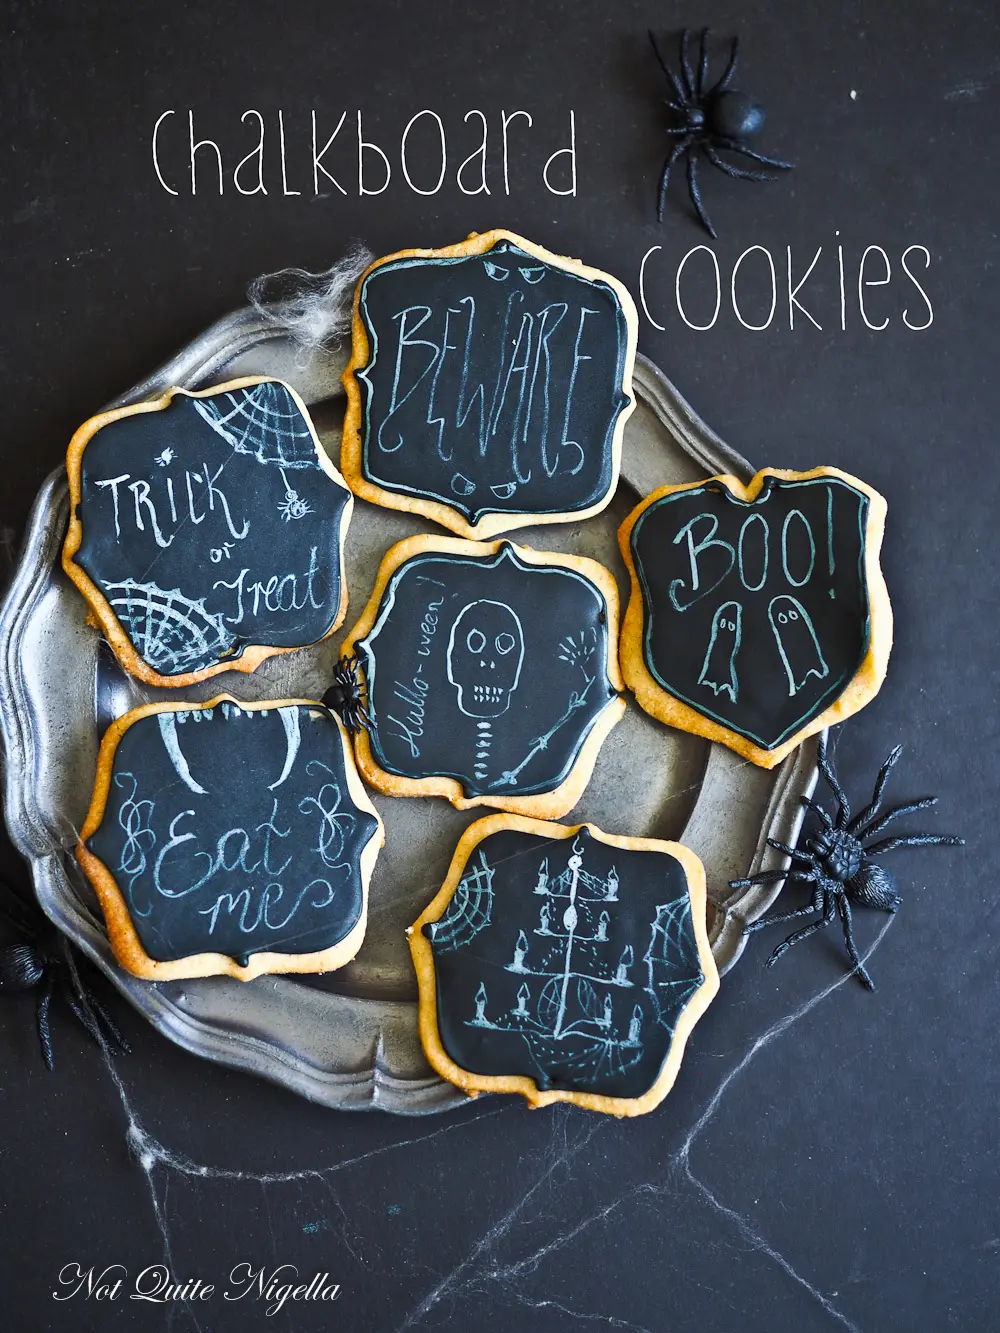
This ingenious chalkboard cookie method looks just like the real thing! These adorable chalkboard cookie will bring out the inner artist in you. Draw or write to your heart's content-the message can be a spooky Halloween one or it can be a sweet message too!
I do love my neighbours and by like I mean I am completely lying and want to perhaps get rid of some. Close apartment living especially during the warmer months when doors and windows are open can be a challenge. Sometimes it makes me want to move to the country!
Our block of apartments is like a semi circular stadium where sounds echo around a garden area and bounce back towards the windows. And for the last week every evening there has been a man talking loudly on the phone. It got so loud and obtrusive that suddenly someone else yelled from another apartment, "SHUT UP!!!"
The noisy talker paused and was silent. I'm sure we all breathed a collective sigh of relief as the talking stopped. And then a good five minutes later he yelled back, "F&*( YOU!!". Honestly I don't know what the deal was with the five minute delay but it was hugely amusing and the means achieved what we were all hoping for: a quiet neighour.
I had to pause from what I was doing and laugh. I was in the midst of decorating cookies. Have you ever seen that gorgeous chalkboard effect in action? It's when you paint on top of black royal icing with edible white colouring. It's so simple and effectively gorgeous. I made these for Halloween but you could use these for any occasion - I'm thinking Valentines Day could be that much sweeter with a personalised message!
I stuck these to an actual chalkboard with royal icing and Belinda handed them around the Halloween party with each person plucking off a cookie. I promise you lovelies that if I with very little artistic talent can do these, you can too!
So tell me Dear Reader, do you love thy neighbour? Are you an artistic person? Which design did you like the best? My favourites were Beware and the chandelier.
DIY Halloween Chalkboard Cookies!
Did you make this recipe? Share your creations by tagging @notquitenigella on Instagram with the hashtag #notquitenigella
Rated 5 out
of 5 by
16 lovely
readers. Share your rating:
An Original Recipe by Lorraine Elliott/Not Quite Nigella
Preparation time: 25 minutes plus overnight drying and 1 hour decorating
Cooking time: 15 minutes
85g/3ozs. butter, softened
140g/4.9ozs. caster or superfine sugar
1 egg, at room temperature
1 teaspoon vanilla extract
180g-200g/6.3-7ozs. plain all purpose flour
1 egg white
250g/8.8ozs. icing sugar, sifted
Black food colouring
White on white edible colouring (Wilton)
Fine paintbrush
Plaque, square or round cutters
Step 1 - Cream butter and sugar together with an electric beater until light and fluffy. Add the egg in and then the vanilla. Add in the flour and mix on lowest speed until just combined. Roll into a ball and tear two sheets of parchment. Roll out the dough between the parchment to desired thinness (about 1/4 inch) and place on a baking tray in the fridge for an hour.
Step 2 - Preheat oven to 200C/400F and line 2 trays with parchment. Cut out shapes using plaque, square or round cutters. Bake for 8-10 minutes (depending on how thin you've rolled them and how large they are). Cool completely on the tray.
Step 3 - Make a quick royal icing (I usually do this while I wait for the dough to firm up as that allows the air bubbles to dissipate). In a food processor add the icing sugar and process until you get rid of the lumps. Then add the egg white and black food colouring and whizz until you get a good stiff consistency that can hold a hard line without it blurring. You may need to add more icing sugar in which case just whizz again. Always keep royal icing covered up well as it dries out very easily.
Step 4 - Fill a small piping bag with a small amount of the stiff icing (about 3 tablespoon's worth). Pipe around the edges of the cookie as shown. Allow to set hard (this can take anything from 10 minutes to 30). Then add a few drops of water to the royal icing so that it becomes a more runny texture. Using a small spoon "flood" the cookies with this icing. Allow to dry completely (I usually dry it overnight).
Step 5 - Take a fine brush and dip it very lightly in the white colouring. I drew a few examples of what I wanted the end design to look like. Draw your patterns - I find the most effective chalkboard look is if I dip the paintbrush in the white colouring and then brush it against the tray before drawing, otherwise the white is too bold. Allow to dry and you can adhere these firmly to a chalkboard with any leftover royal icing.


Reader Comments
Loading comments...Add Comment