Recipe: Matilda Chocolate Cake Recipe »
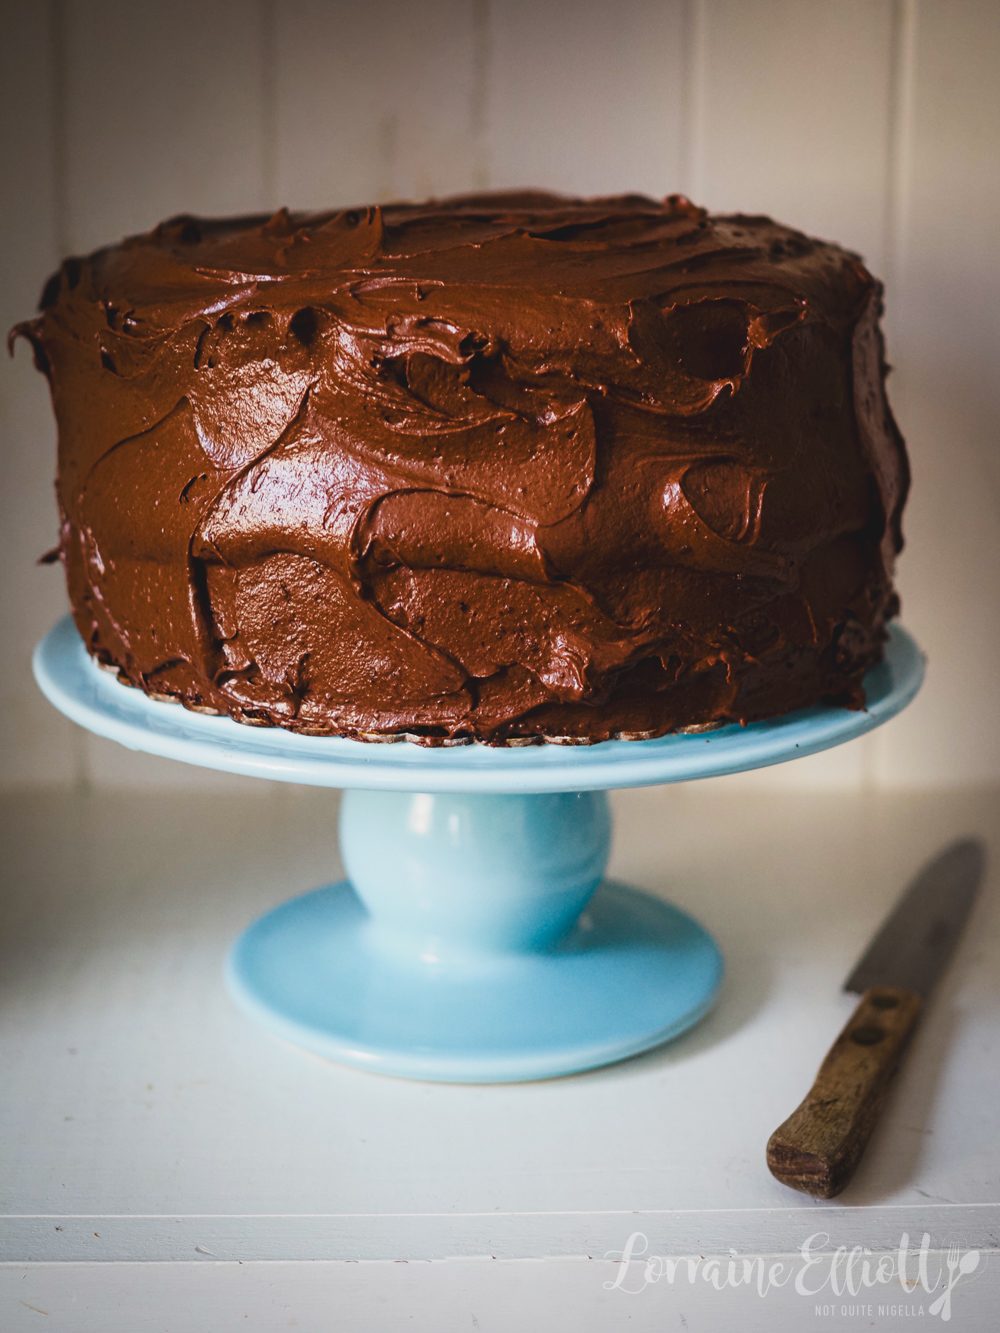
This Matilda Chocolate Cake is the ultimate, moist, rich and glossy chocolate cake! Inspired by the iconic scene from the film Matilda, it's made with some secret tips for a tender, melt in the mouth texture. Perfect for birthdays or any time you crave a classic, no-fail chocolate cake.
About This Matilda Chocolate Cake

Everyone needs a classic simple chocolate cake recipe and this Matilda chocolate cake is it. A chocolate cake needs to be moist and chocolatey but also easy to make with pantry ingredients. This is where this chocolate cake comes in.
This cake was made famous in the scene in Matilda where character Bruce was forced by Miss Trunchbull to eat a whole 18 inch chocolate cake in front of the school. It's a gigantic glistening chocolate cake with a rich, glossy frosting. And this chocolate cake was inspired by it! This cake is sweet and rich. If you don't like sweet and rich chocolate cakes then this won't be your thing!
The secret to this moist and rich chocolate cake is a couple of ingredients: buttermilk keeps the cake texture super tender while extra egg yolks keep the cake even more moist and soft! Also the secret to a full flavoured chocolate cake is to bloom the cocoa with hot water. This helps gives the cake a richer, more chocolatey flavour to it!
I've got so many chocolate cake recipes from a 12 layer chocolate cake to a vegan chocolate cake to my favourite chocolate zucchini cake but this one is a simple, no fuss chocolate cake. It's great for birthdays too and I love it because it is best made 1 day ahead.
I first tried making the famous Hershey's chocolate cake and honestly it was dry and overbeaten. They recommend beating it for whole 2 minutes with the flour which we all know, produces a tough cake and it did! But the revelation was the chocolate icing which I loved. So even if the cake was not one to be repeated, their chocolate icing was divine!
Video How To Make Matilda Chocolate Cake
Video: How to Make A Matilda Chocolate Cake
Ingredients For A Matilda Chocolate Cake

Butter - I always prefer salted butter over unsalted. However the most important part is that for the cake it is super soft (a butter knife can easily glide through it) and for the frosting it is melted.
Caster or superfine sugar - This is finer in texture than white sugar and designed for baking so that it blends well with the butter.
Vanilla essence or extract - I use extract or essence over vanilla bean paste as the butter and sugar needs a bit of liquid to help the consistency along when beating.
Chocolate - I use dark chocolate but you can also use milk chocolate.
Eggs and egg yolks - go for larger eggs at room temperature.
Cake flour - you can buy cake flour at the supermarket or make it yourself. Replace 2 tablespoons of plain all purpose flour with cornflour/fine cornstarch and whisk well per 1 cup of flour. I make a big batch of this and keep it in a container ready for baking cakes as it produces a softer cake texture.
Cocoa powder - Go for Dutch processed cocoa (most cocoas are Dutch processed). Dutching the cocoa uses an alkaline solution that takes out the natural acidity from the cocoa making it smoother in flavour.
Bicarb - We use this as our rising agent (along with eggs). This is different from baking powder.
Salt - Use fine salt to balance the sweetness.
Oil - Use your favourite flavourless oil like grapeseed or canola.
Hot water or weak hot coffee - coffee intensifies the flavour of chocolate but you can omit this and just use water or use decaf if you don't want caffeine.
Buttermilk - This helps to keep the cake moist. Make it at home by replacing a tablespoon of milk with lemon juice, lime juice or vinegar. It will become a bit lumpy-that's fine!
Icing sugar or powdered sugar which is super fine sugar with the texture of powder for the icing. Pure icing sugar can be used as well as icing sugar mixture. See below about tip for sifting!
Milk - I use full cream milk for this.
Tips For Making A Matilda Chocolate Cake

1 - This cake is super easy to make if you have your ingredients measured beforehand.
2 - Do not use springform tins for this cake as the batter is thin and can leak through the joins of a springform tin.
3 - Some people like to use coffee instead of water to give the cake a more intense chocolate flavour. I would recommend using weak coffee if you use coffee.
4 - Make sure that the chocolate is completely melted before adding it into the butter mixture.
5 - Make sure to use hot water or hot cocoa as hot water/liquid helps to bloom the cocoa and give it a richer flavour.
6 - This cake and frosting recipe can easily be halved if you want a single layer cake. The cake rises quite high so it makes for a nice single layer cake.
7 - I like to sieve this chocolate cake batter just to ensure that there are no lumps in the batter. This final step produces a more even textured crumb. It also aerates the cake batter giving it a lighter texture.
8 - If you only have one cake tin and want to bake this cake, make sure that it has high enough sides, around 10cm/4inches (these are the cake tins I use). Bake it for longer, around 50 minutes or until the centre has risen and is no longer wobbly.
9 - I prefer to bake the cake the day before and then ice it on the day. This cake also freezes well, either iced or uniced.
10 - My biggest tip for sifting this much icing sugar and cocoa (I HATE sifting!) is to put it in a food processor or Thermomix for 30 seconds on high (just make sure that the food processor or Thermomix is completely dry and clean).
Alternative frostings are a chocolate ganache which I've used on this classic chocolate mud cake or a sour cream chocolate frosting as seen on this sheet cake. This cake was inspired by Cupcake Project's chocolate cupcake recipe.


Reader Comments
Loading comments...Add Comment